Good Evening Blanket lovers & welcome to part 4 of our memory blanket story. Not long to go now, sniff! I’m really starting to enjoy this blogging malarky, think I’m going to have to find something new to ramble on about when this is all over!
If you’ve missed the previous instalments you can catch up here(part1), here(part2) and here(part3)
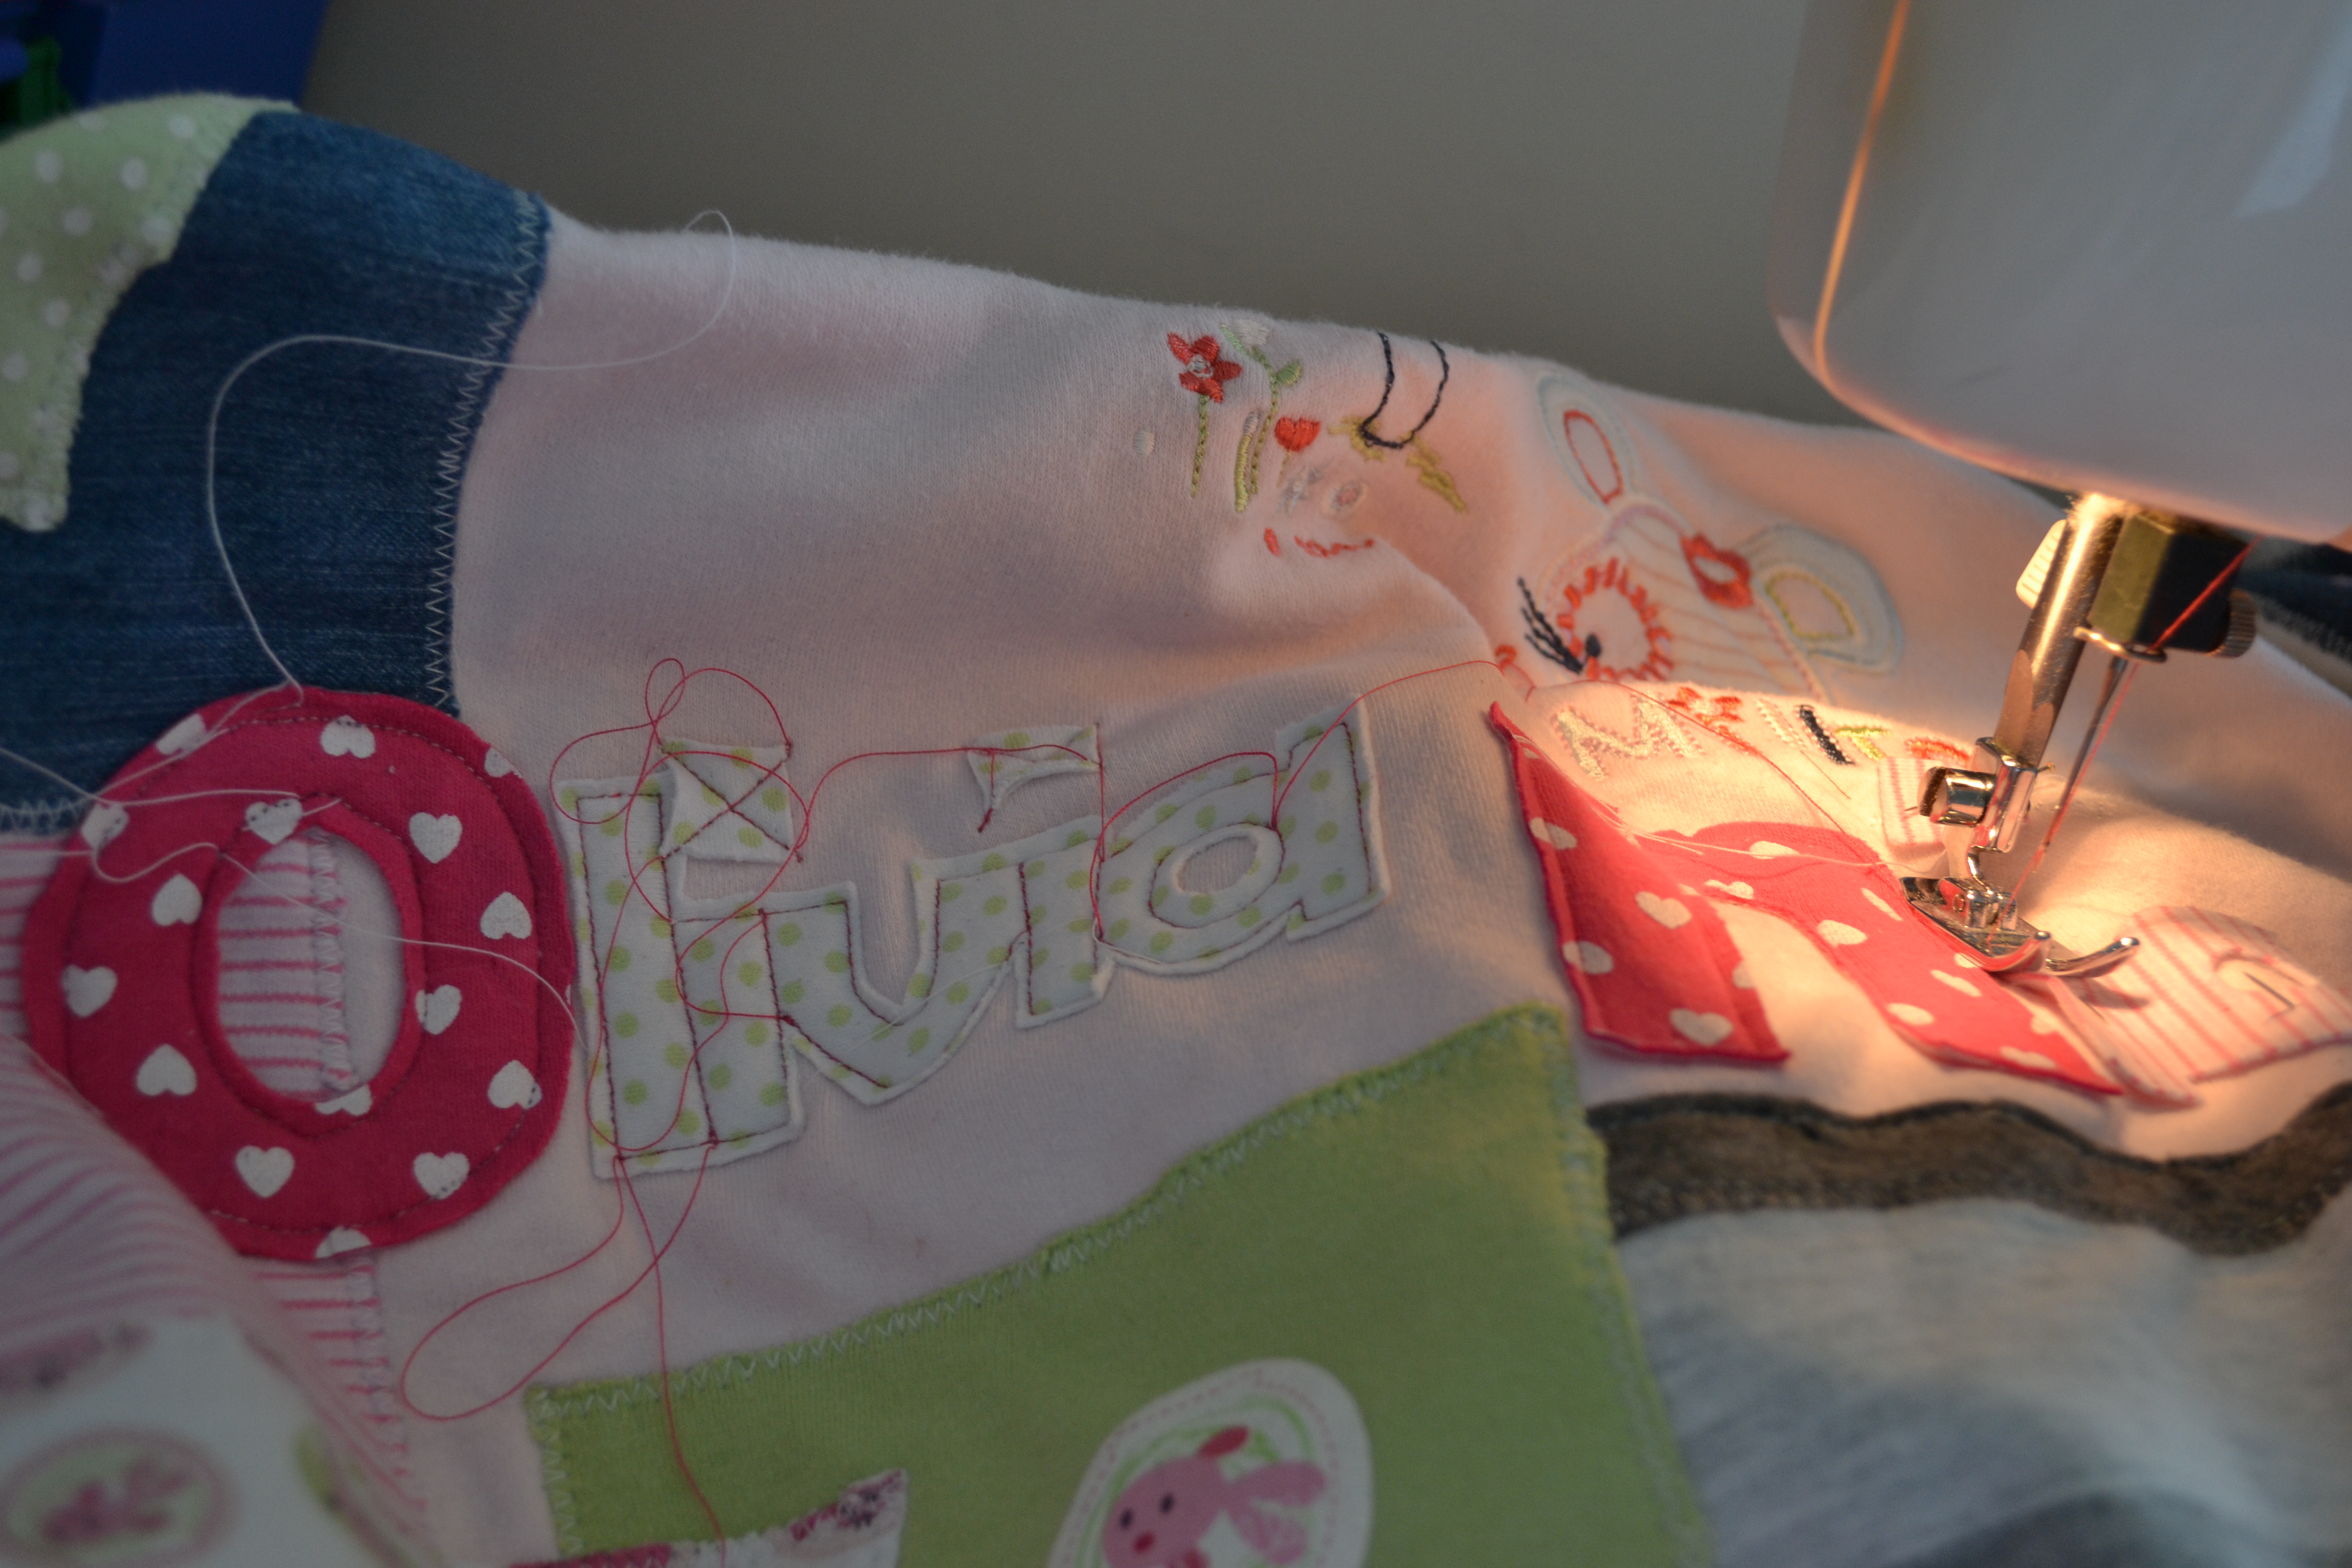
When we last left you we had finally finished the rather mammoth task of stitching the blanket patchwork together….. so now that’s done, the next thing is to add the personalisation details.
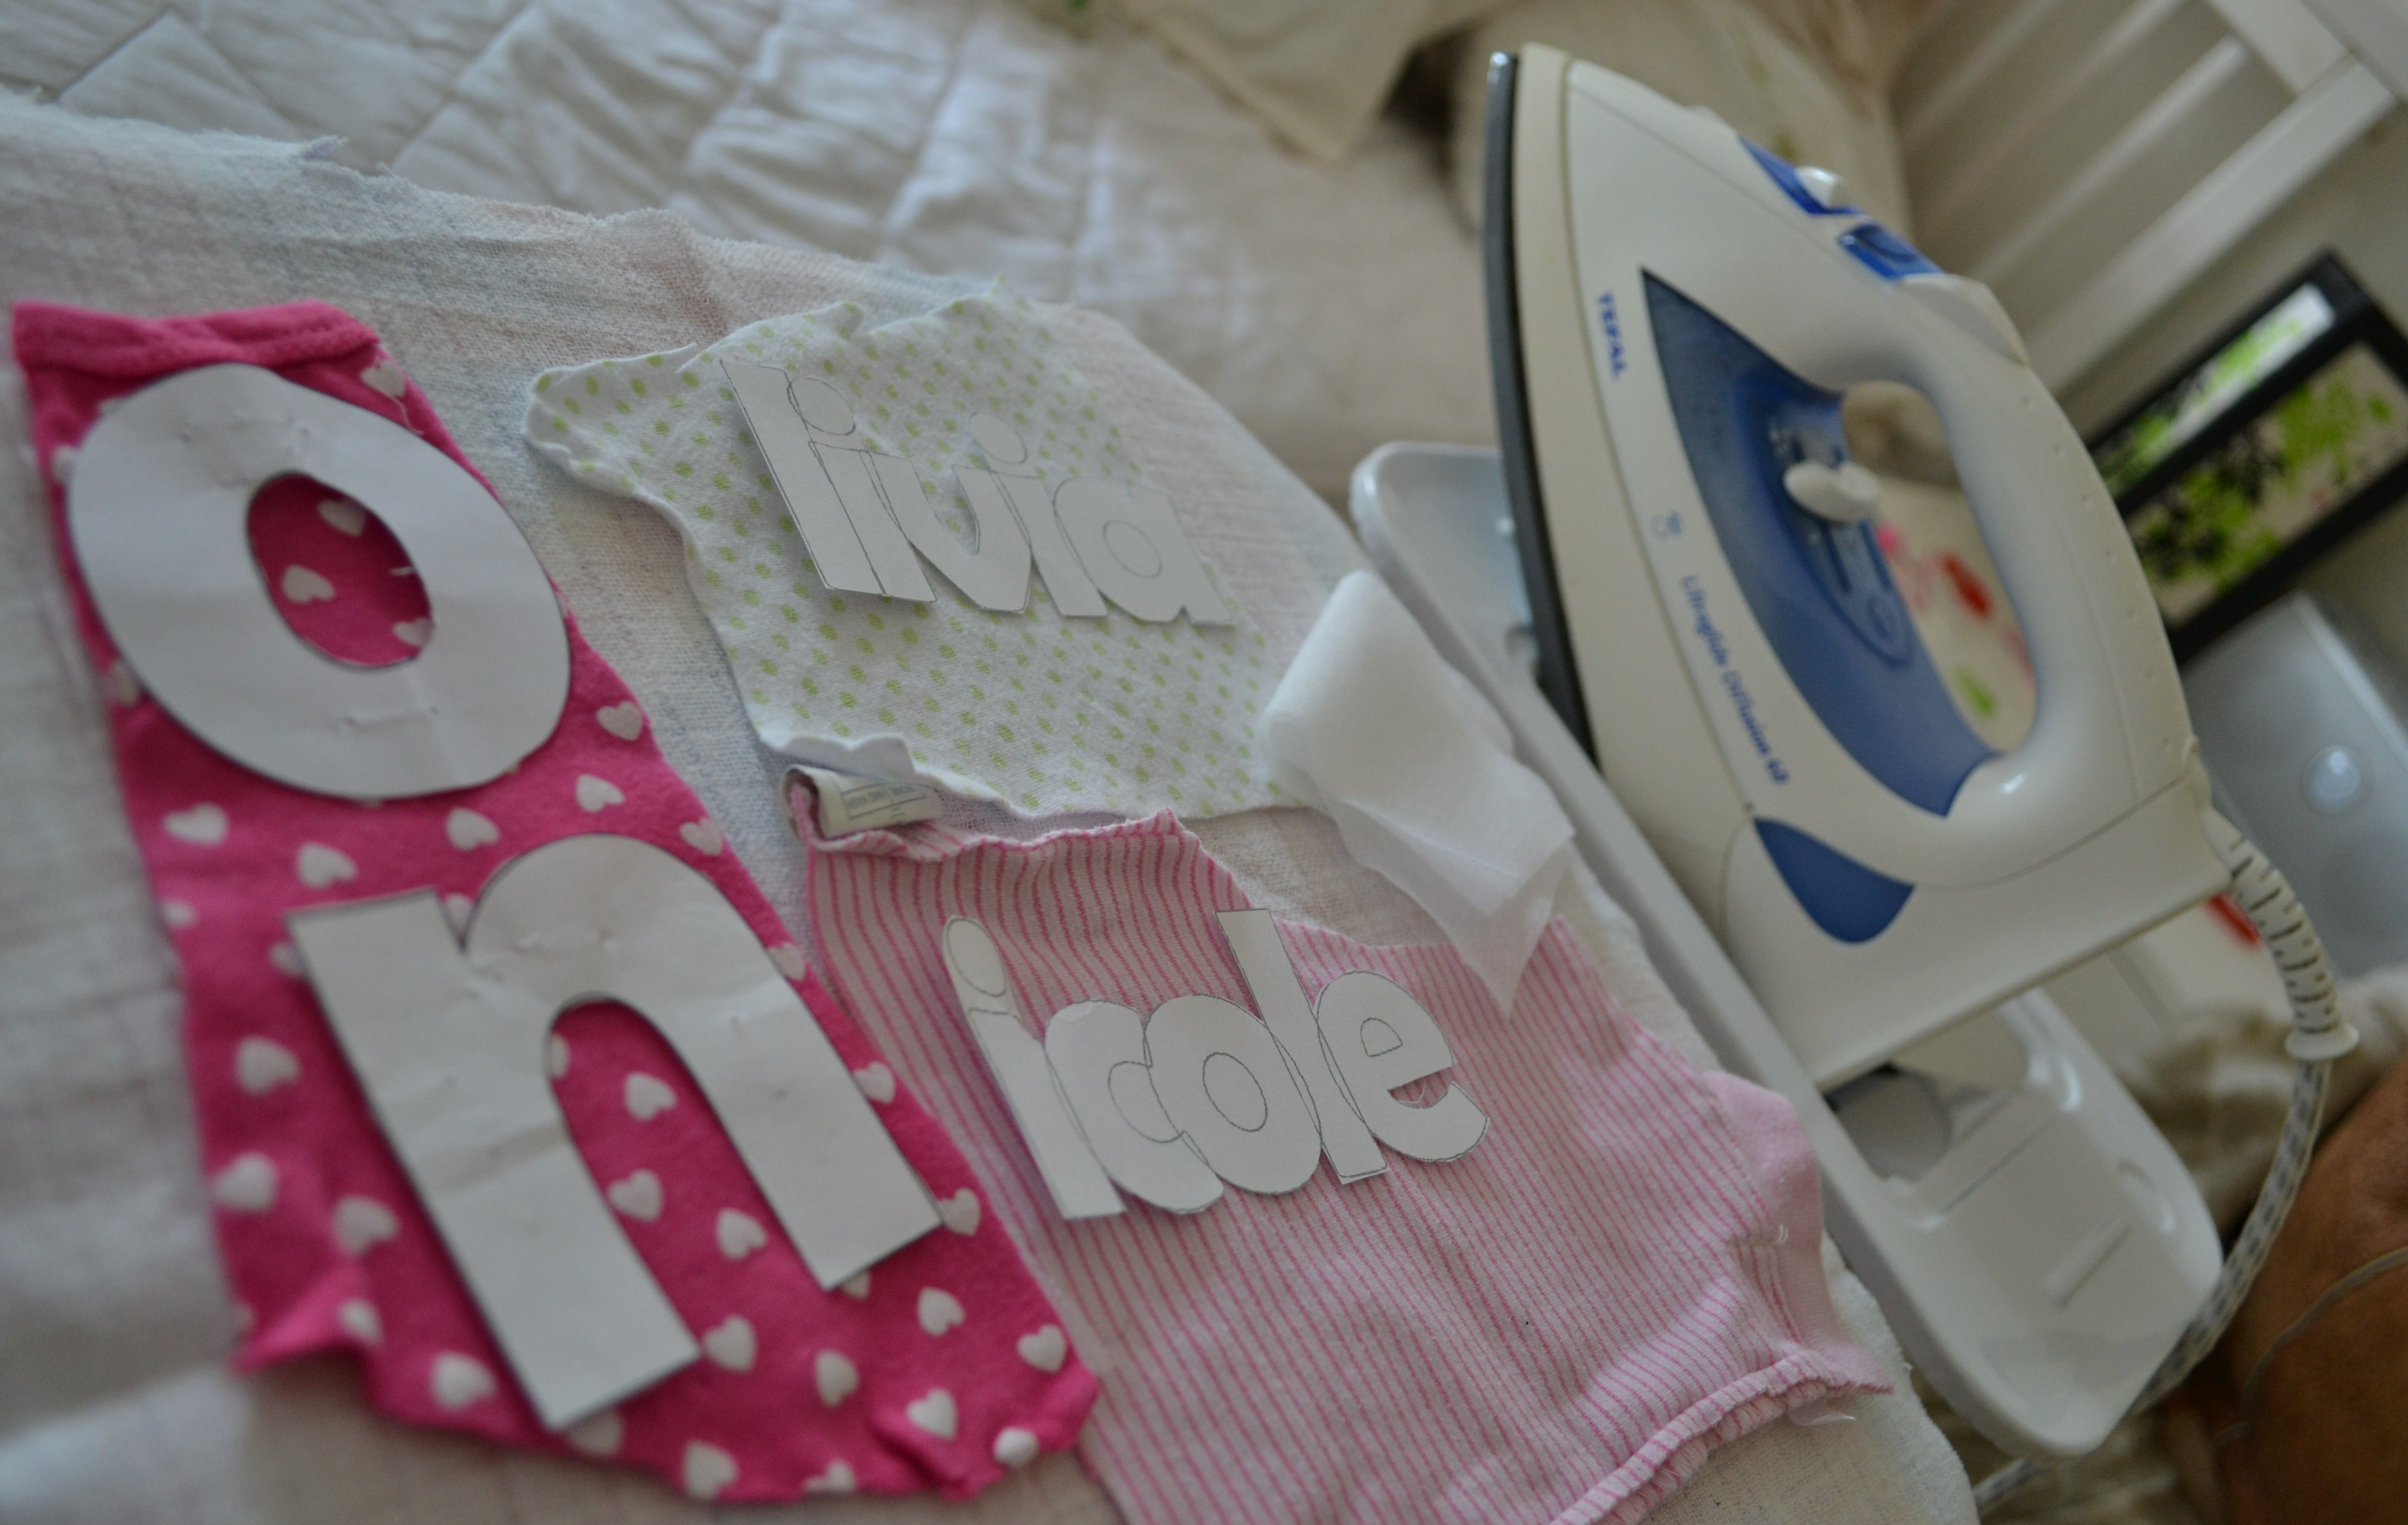
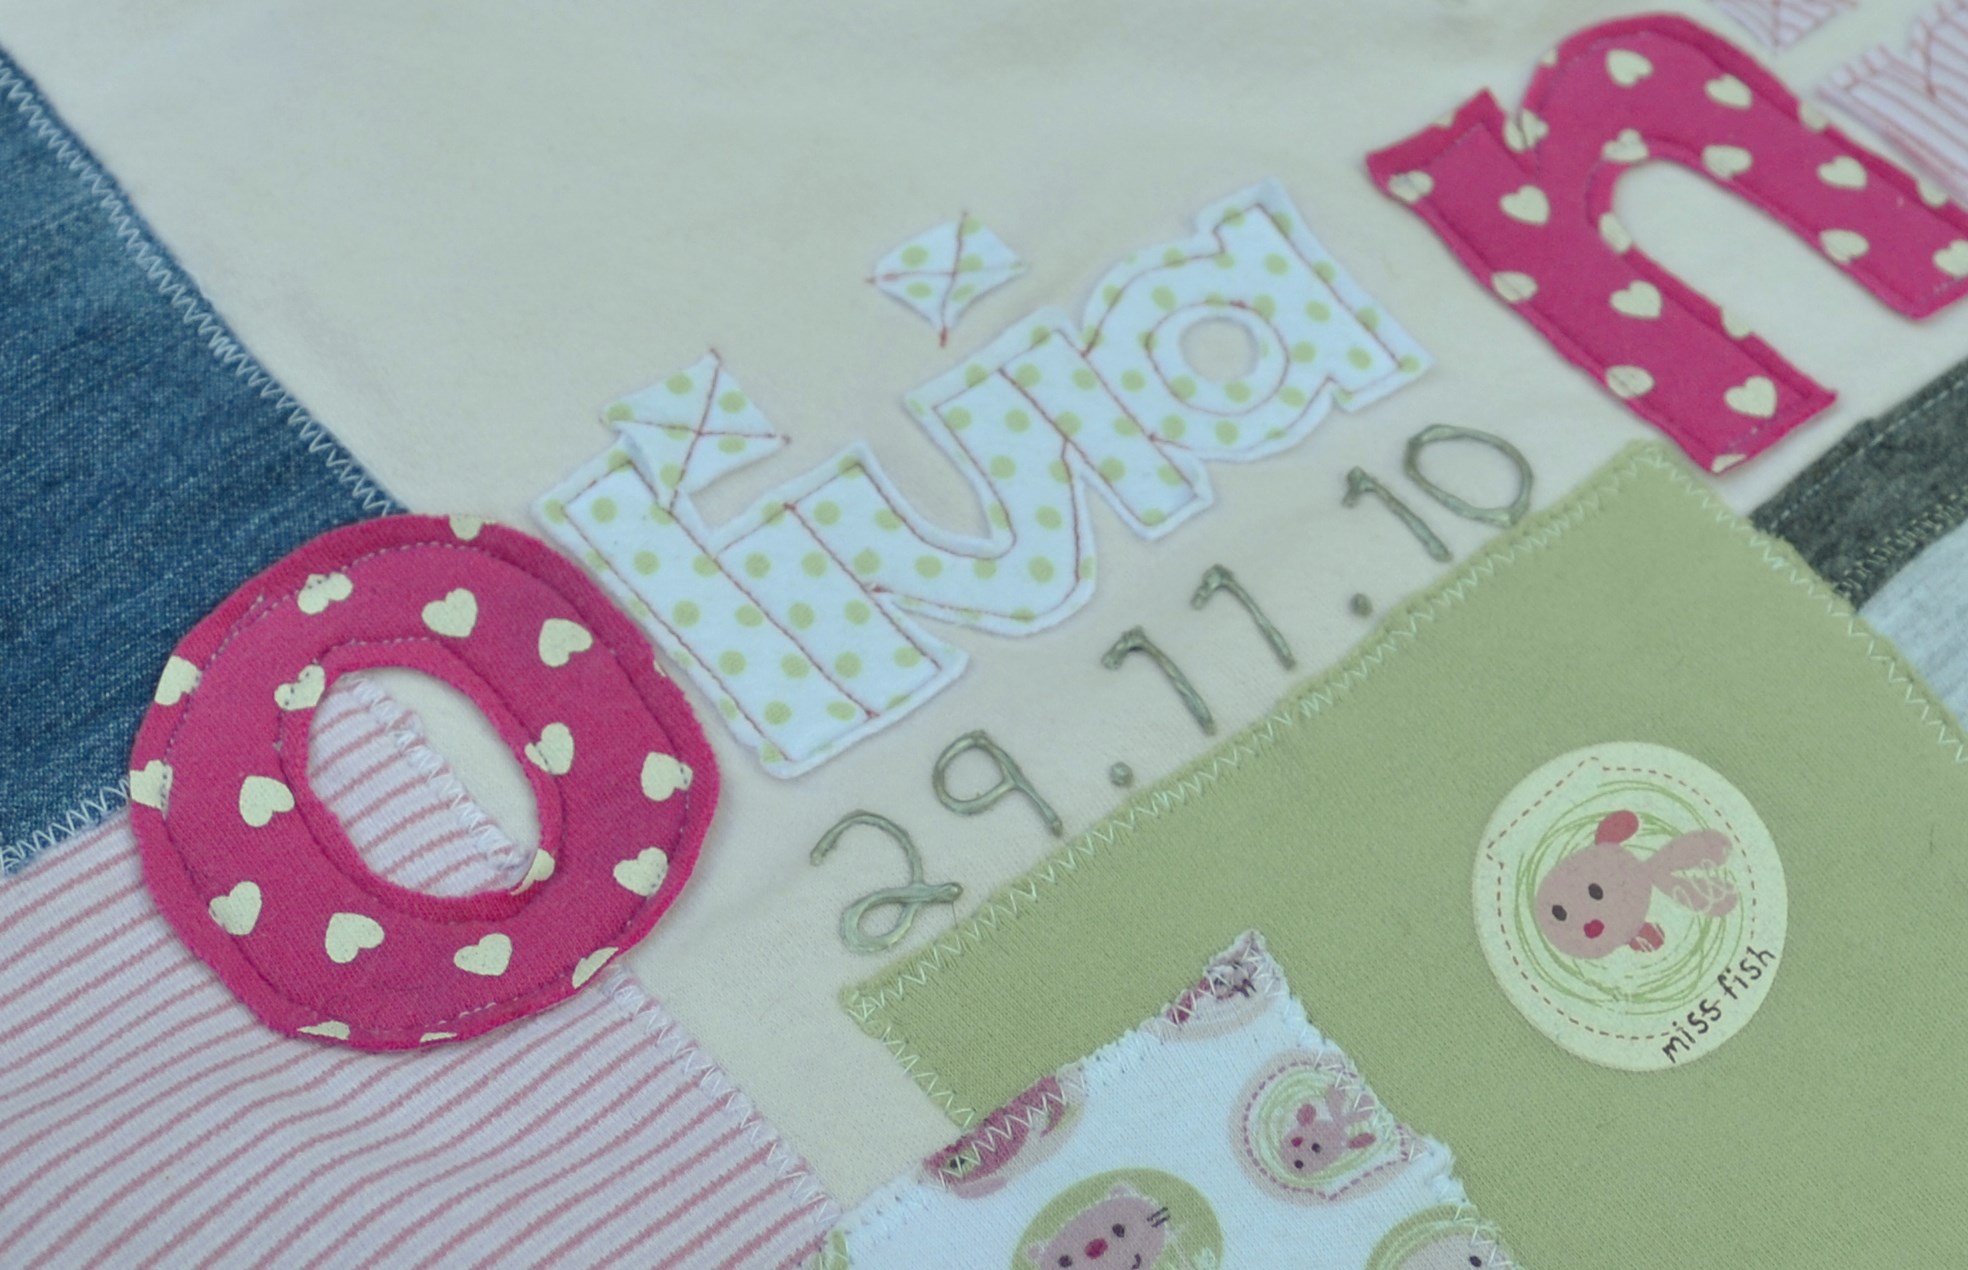
First we print a paper template to follow, and select fabrics for the name. Sewing the name is a wee bit fidly and as I don’t want the fabrics to stretch I am adding some iron on interfacing to the back. This makes the fabrics more sable and sewing will be much easier! Then I can pin on the template & cut out the names…..
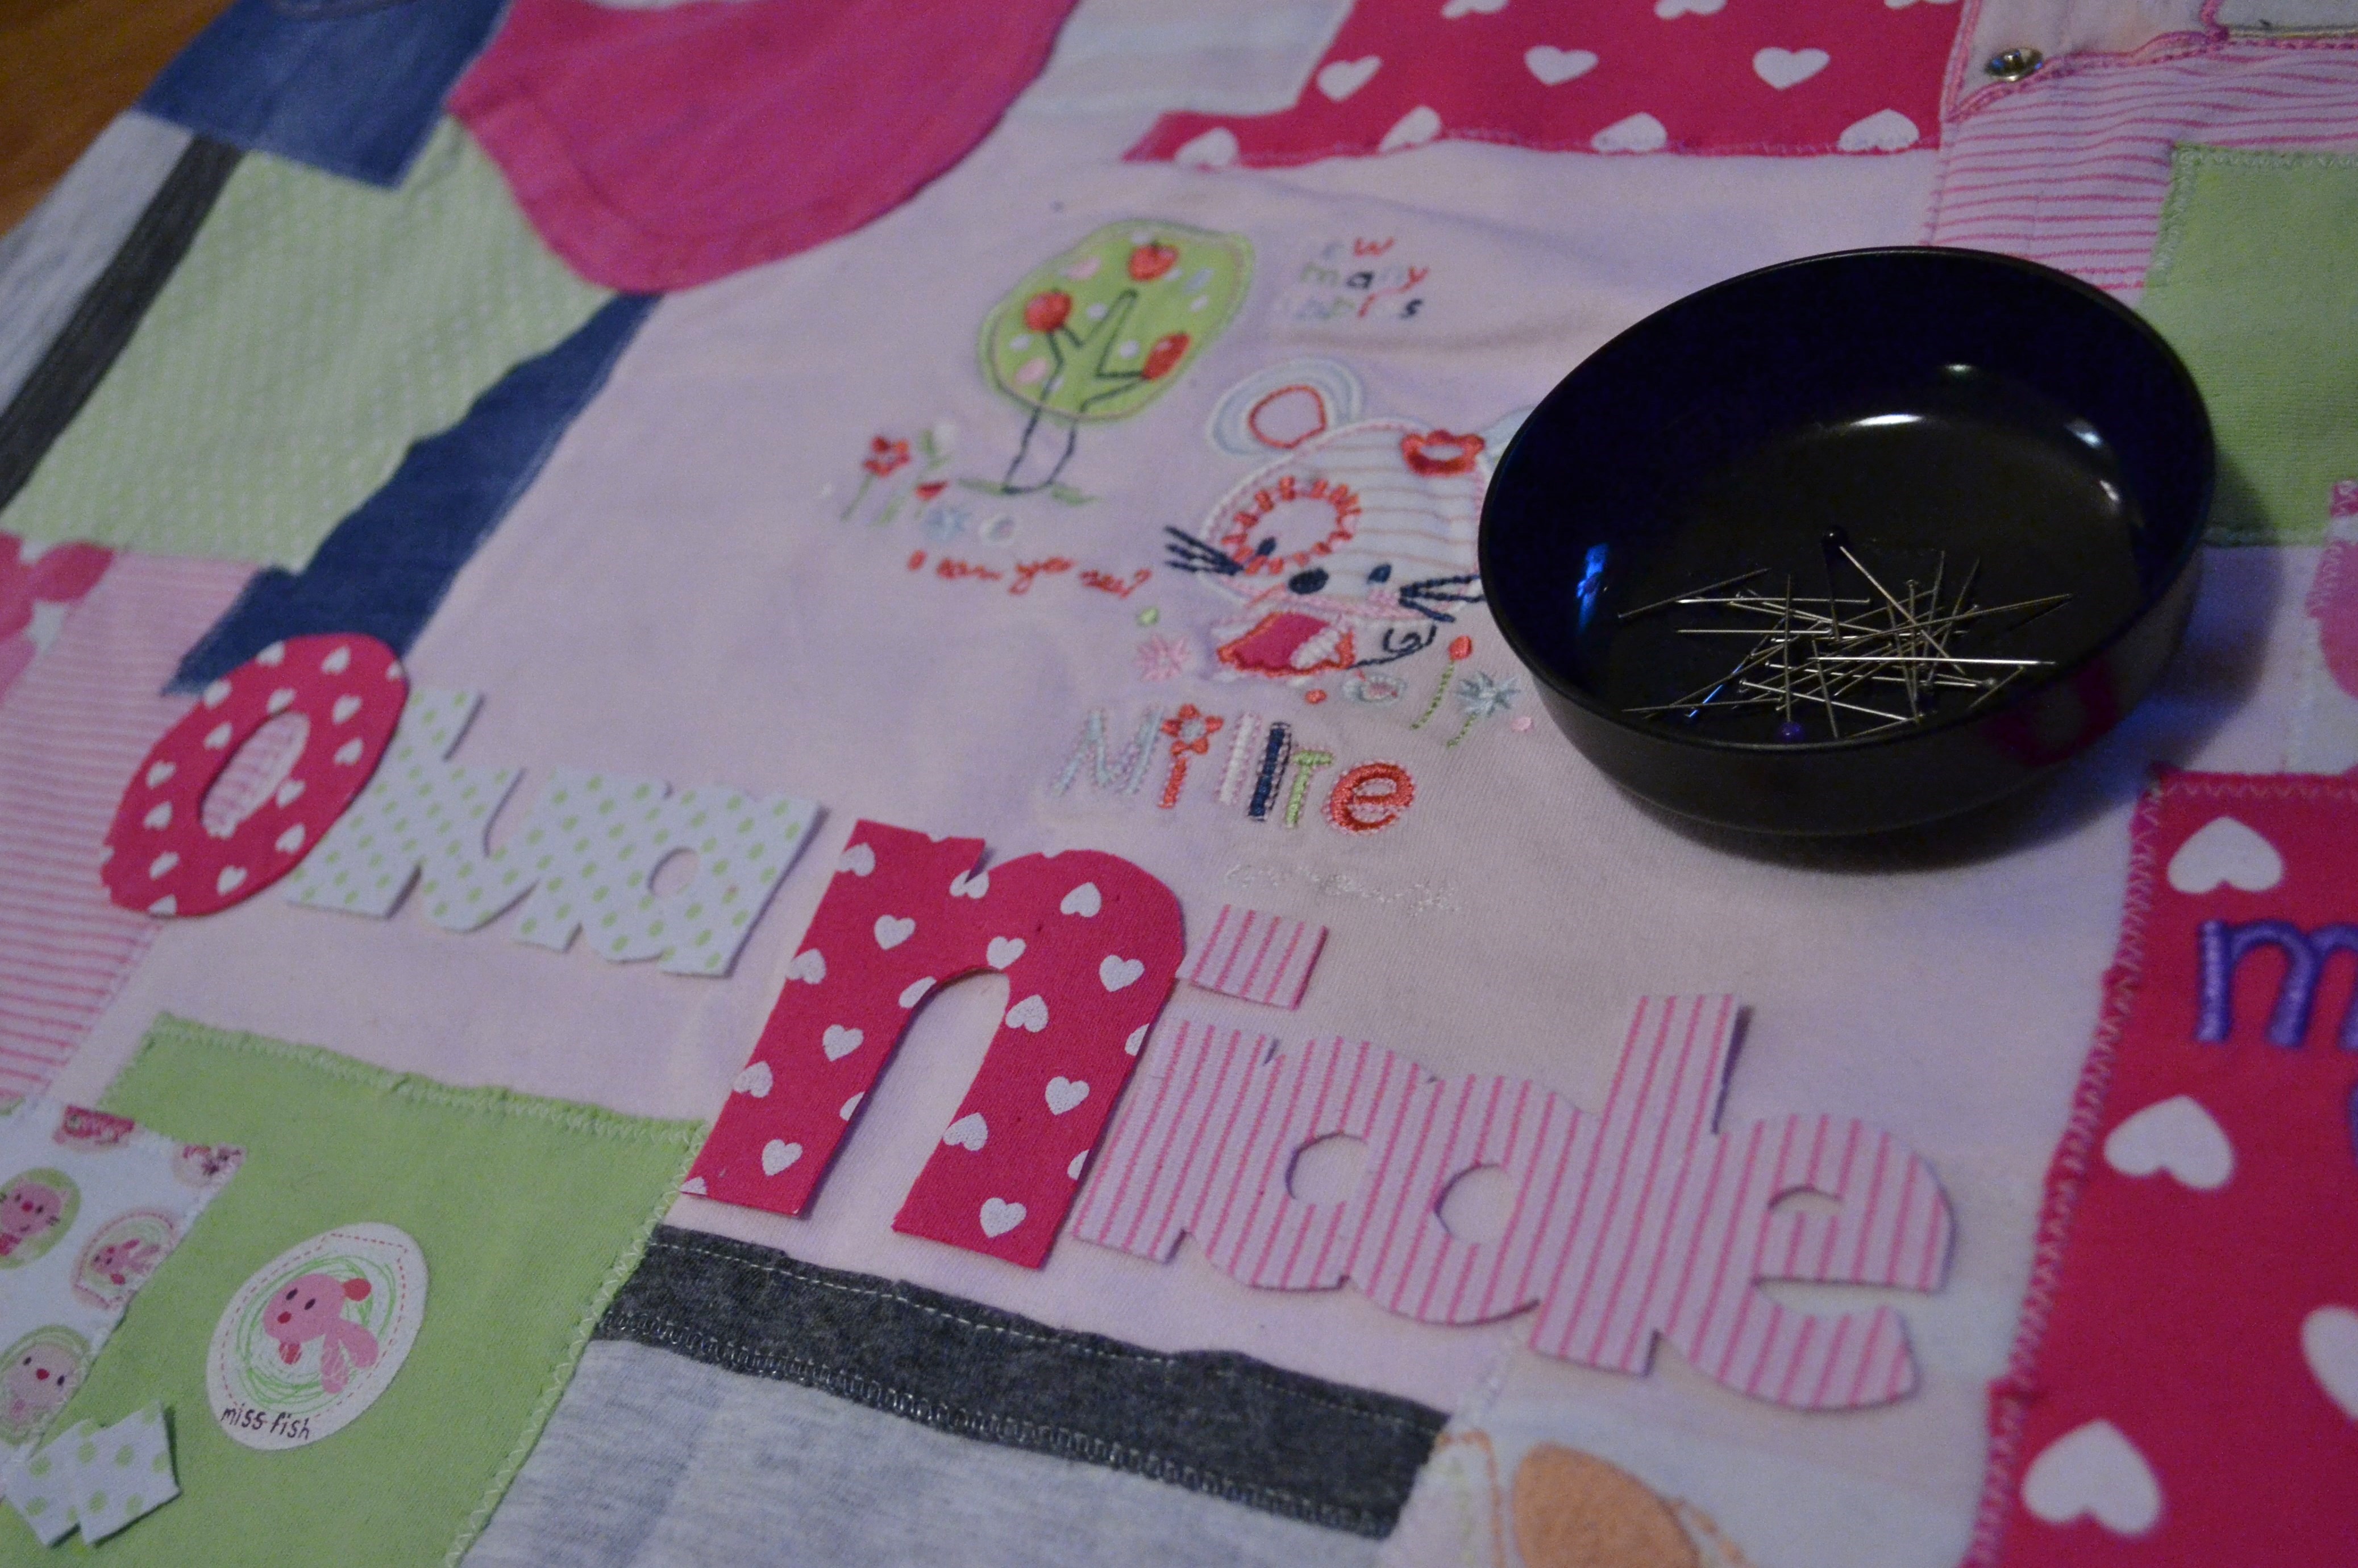
Next is to position & pin the letters into place on the blanket…..
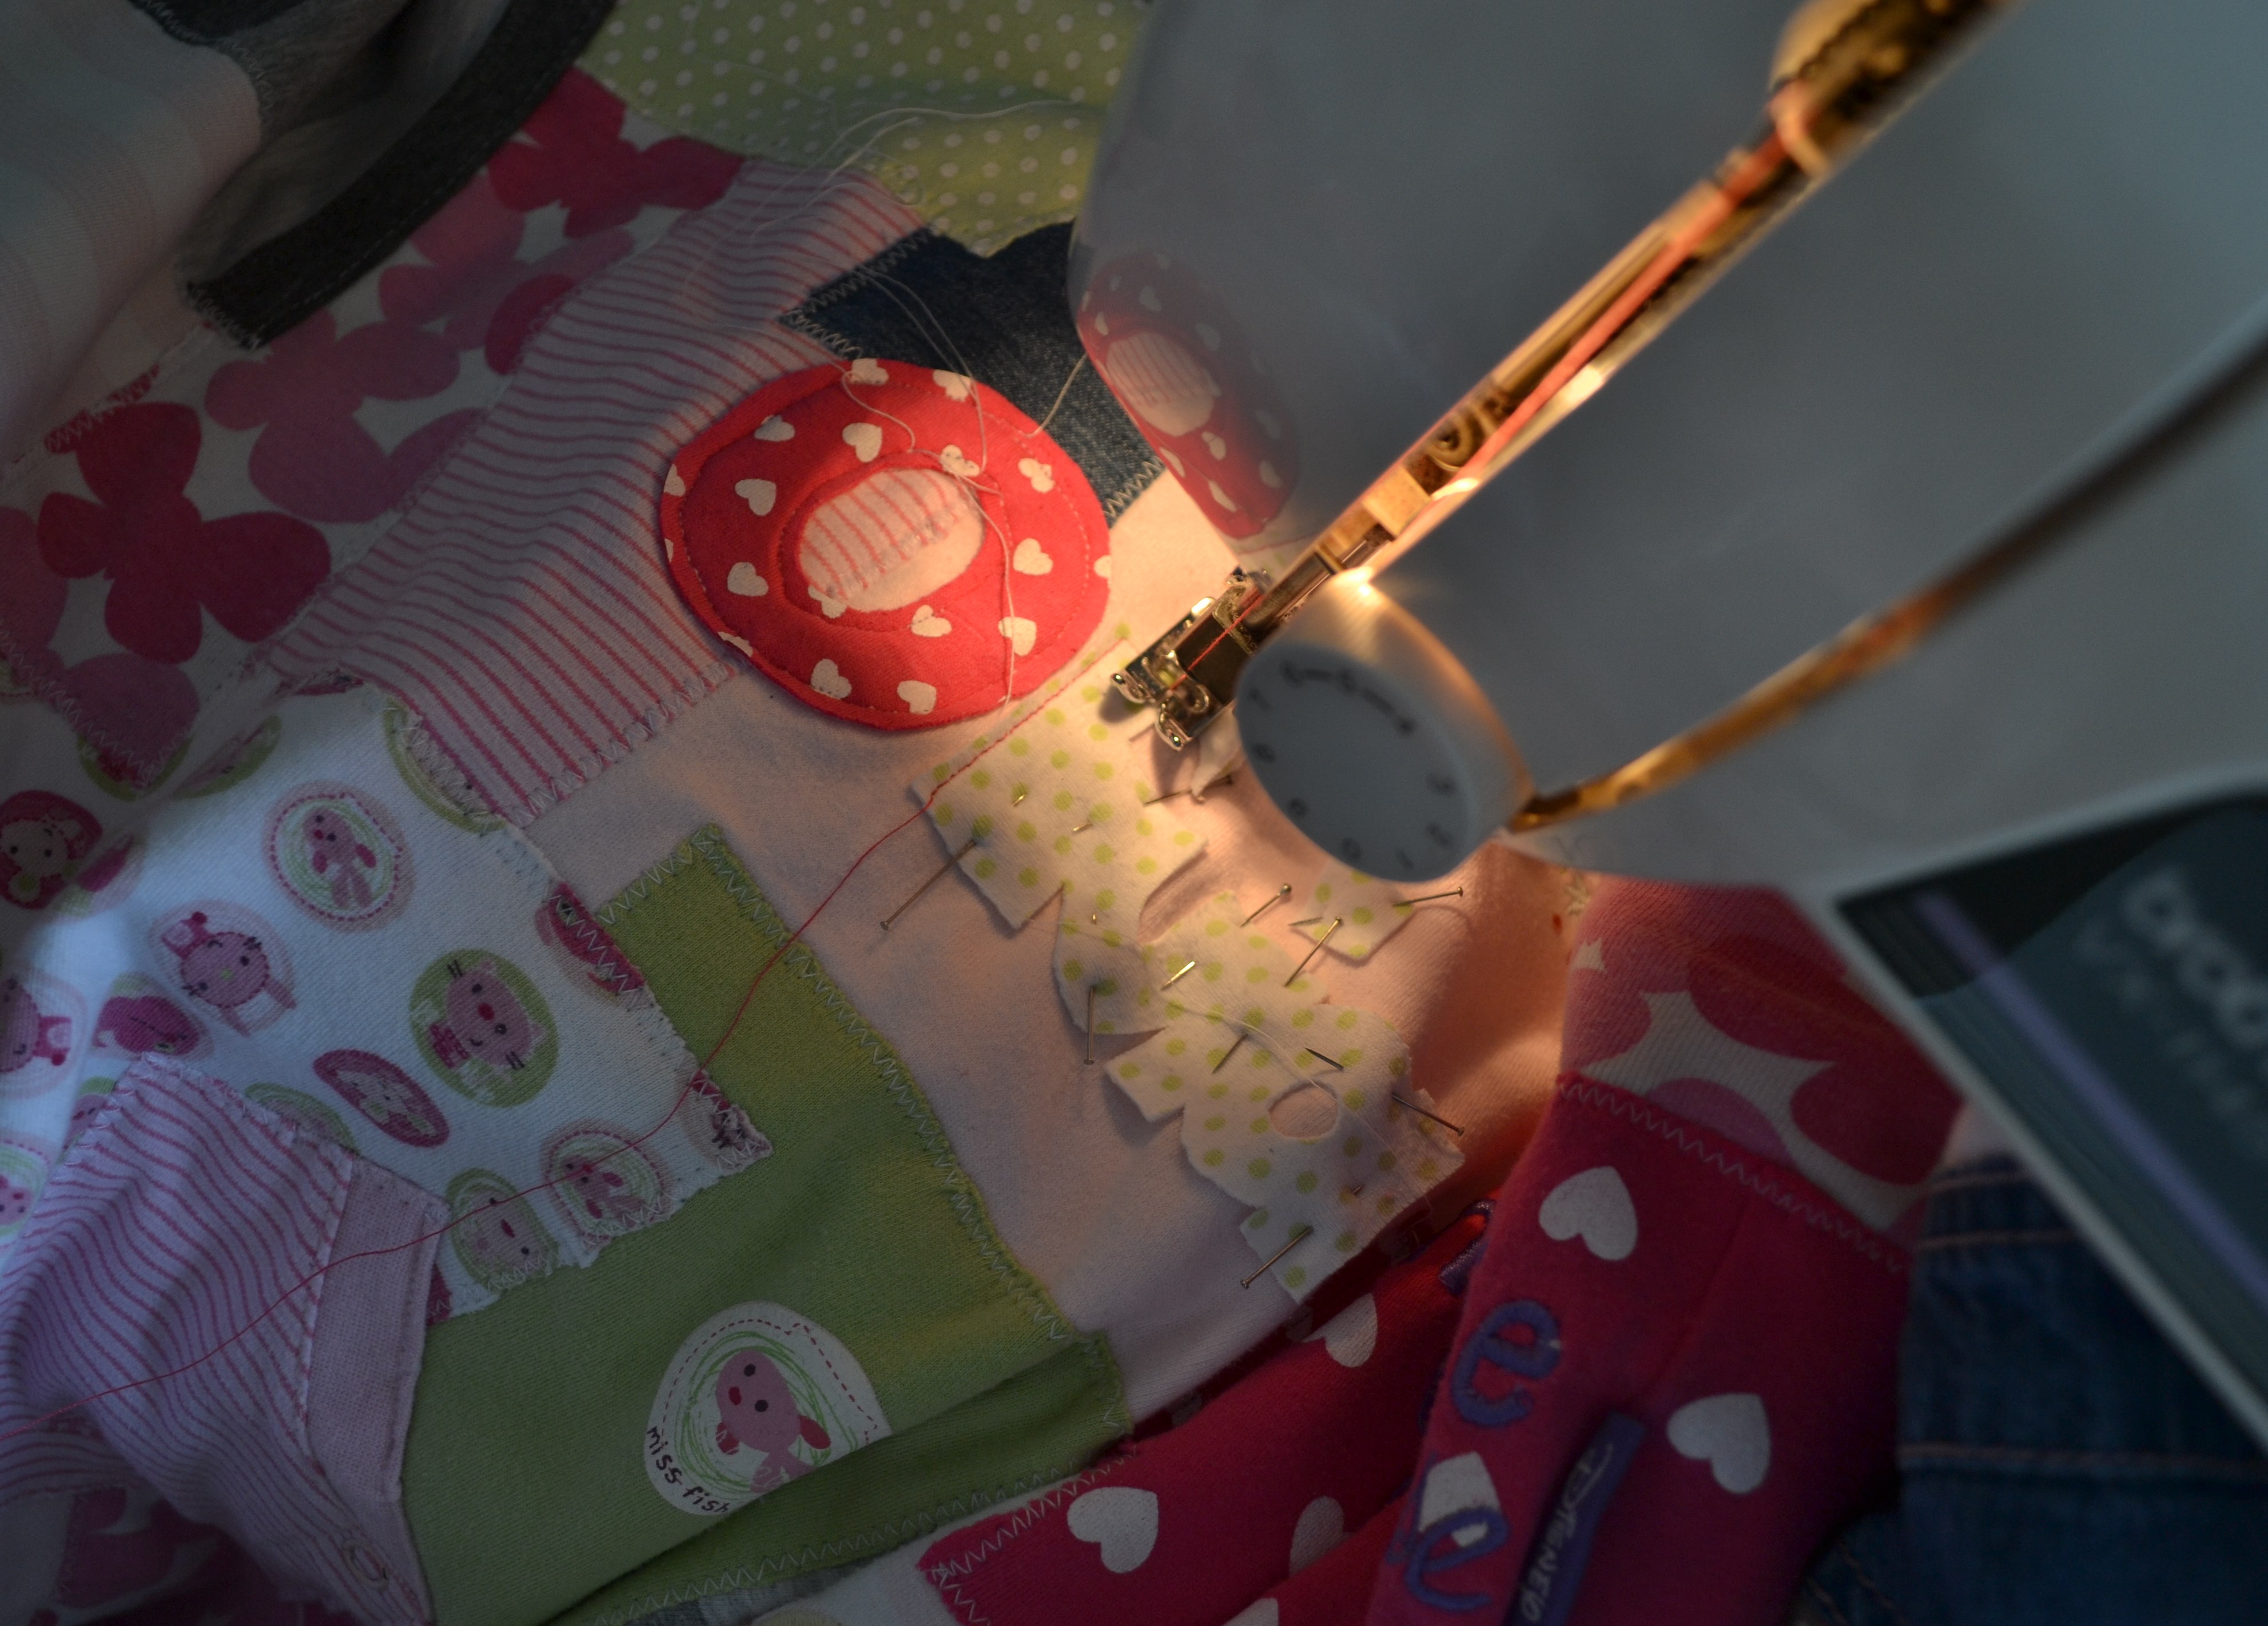
And with that we’re ready for sewing again!
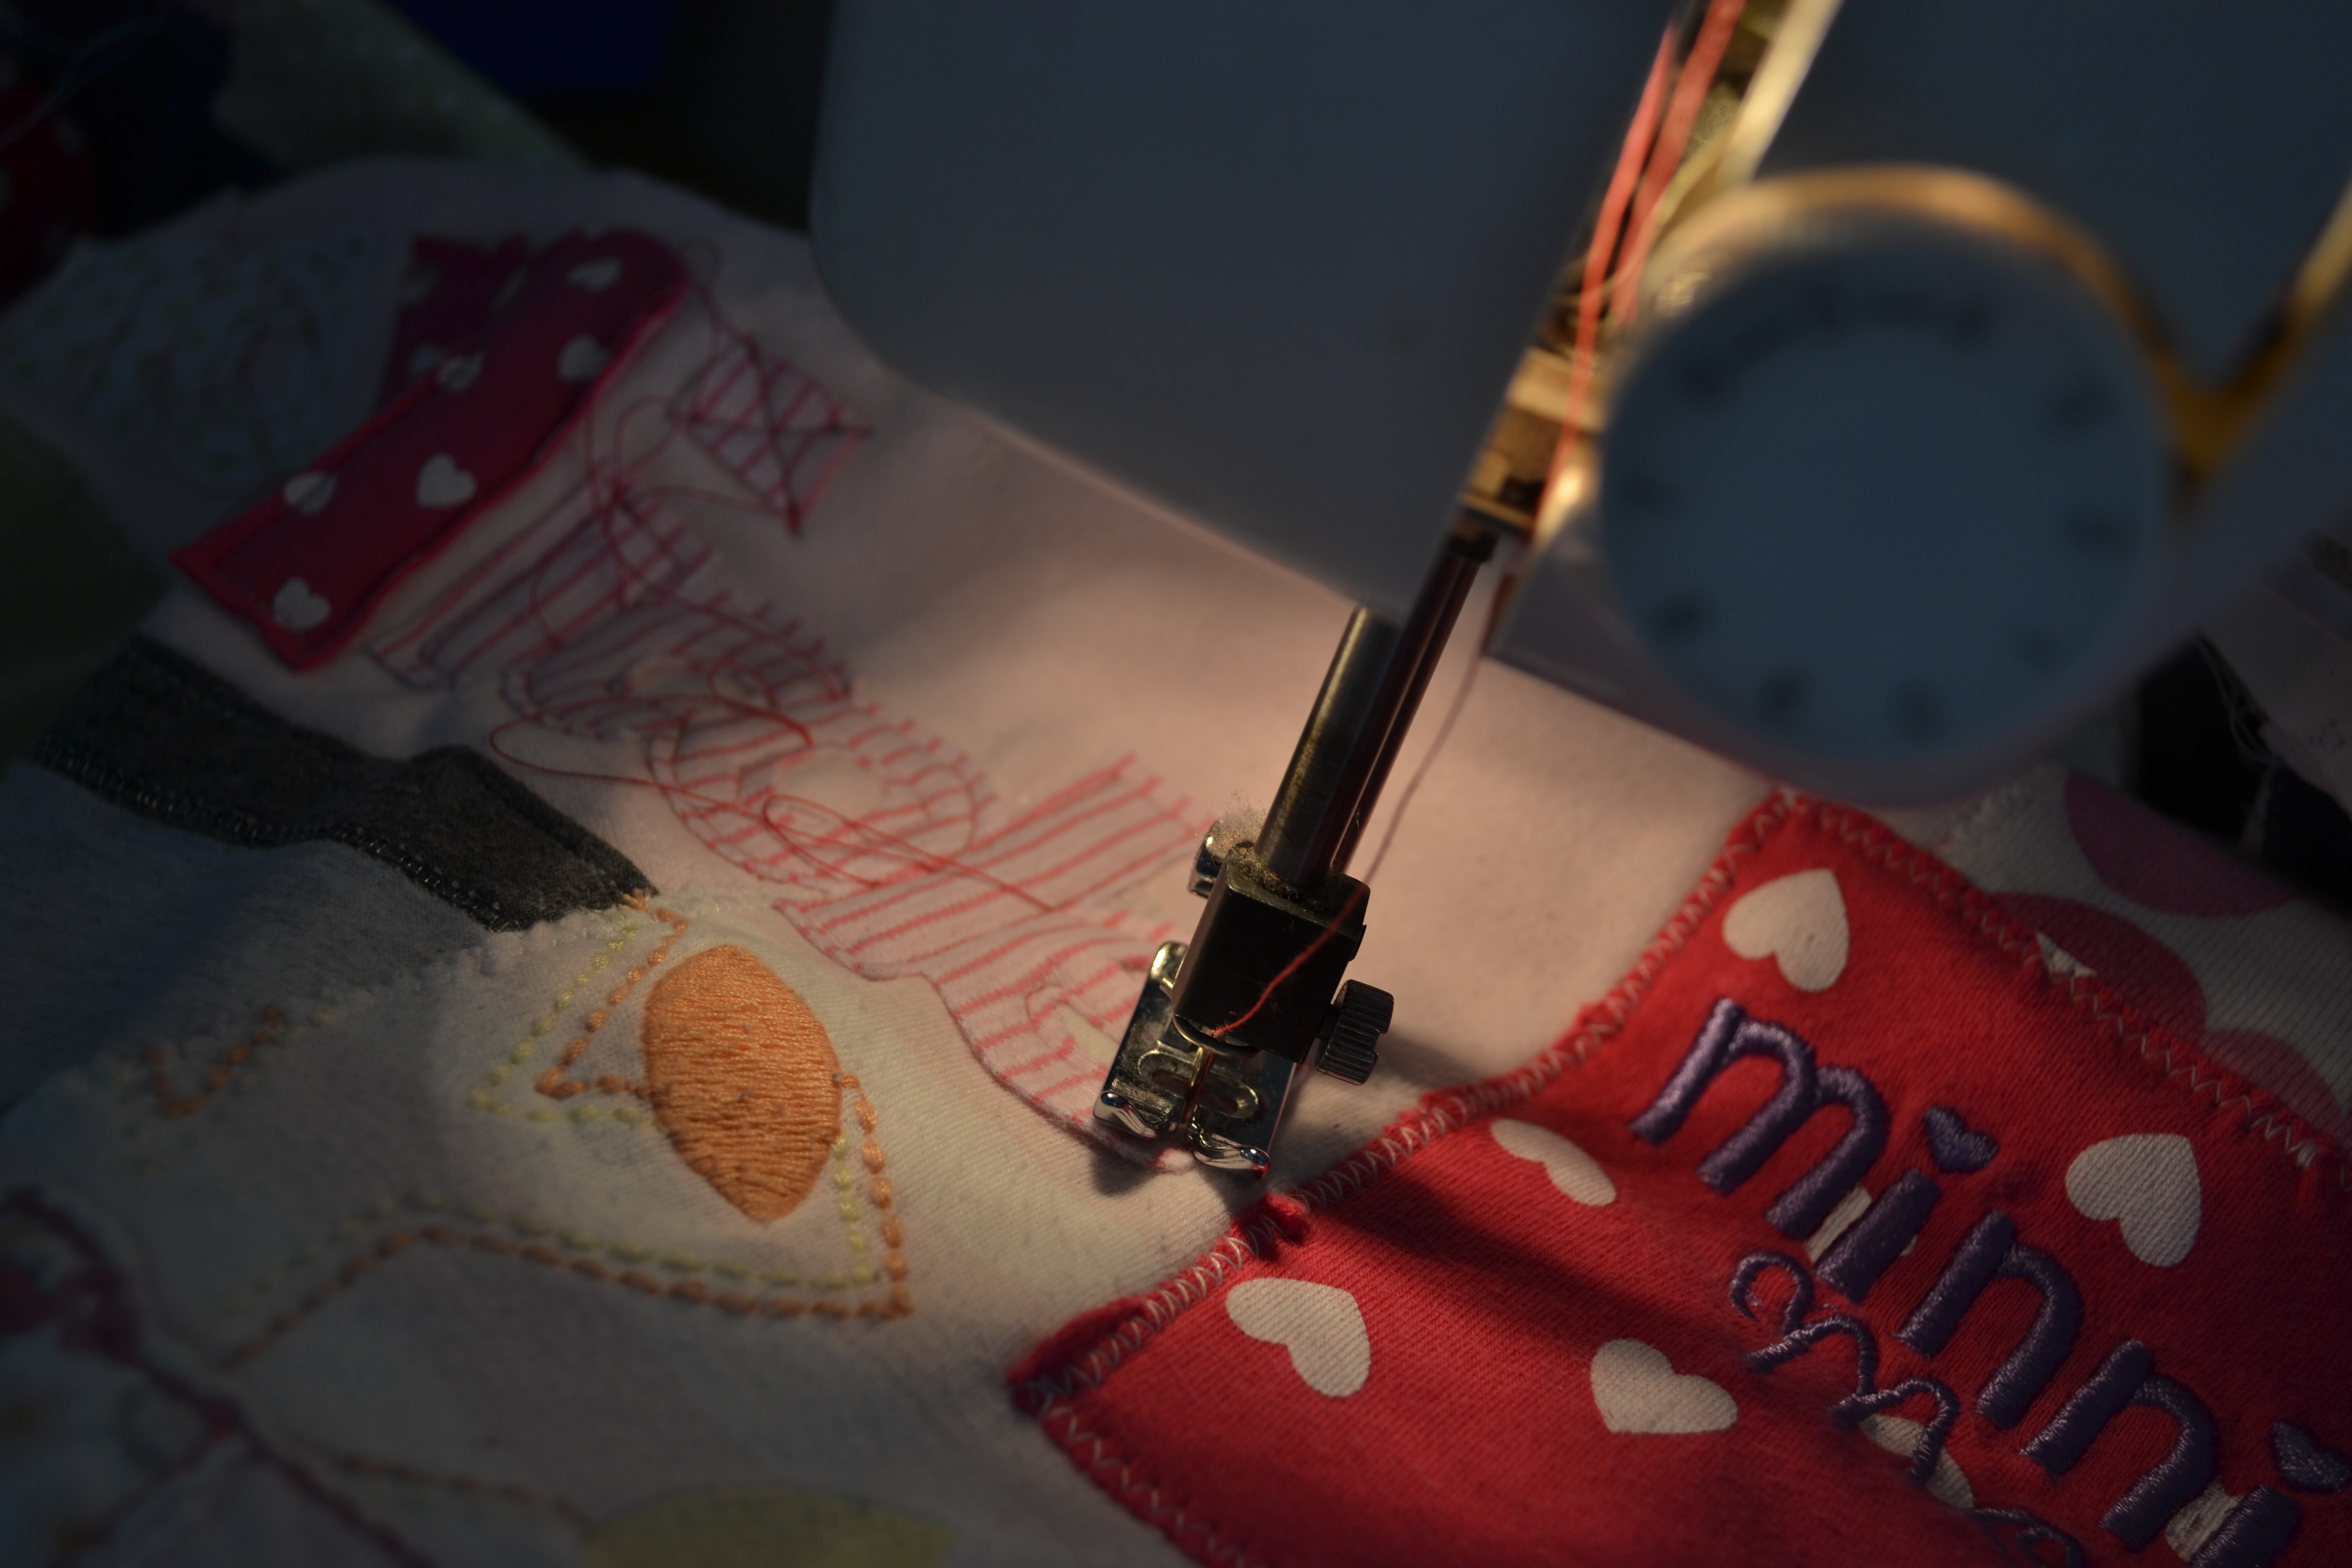
Almost done!
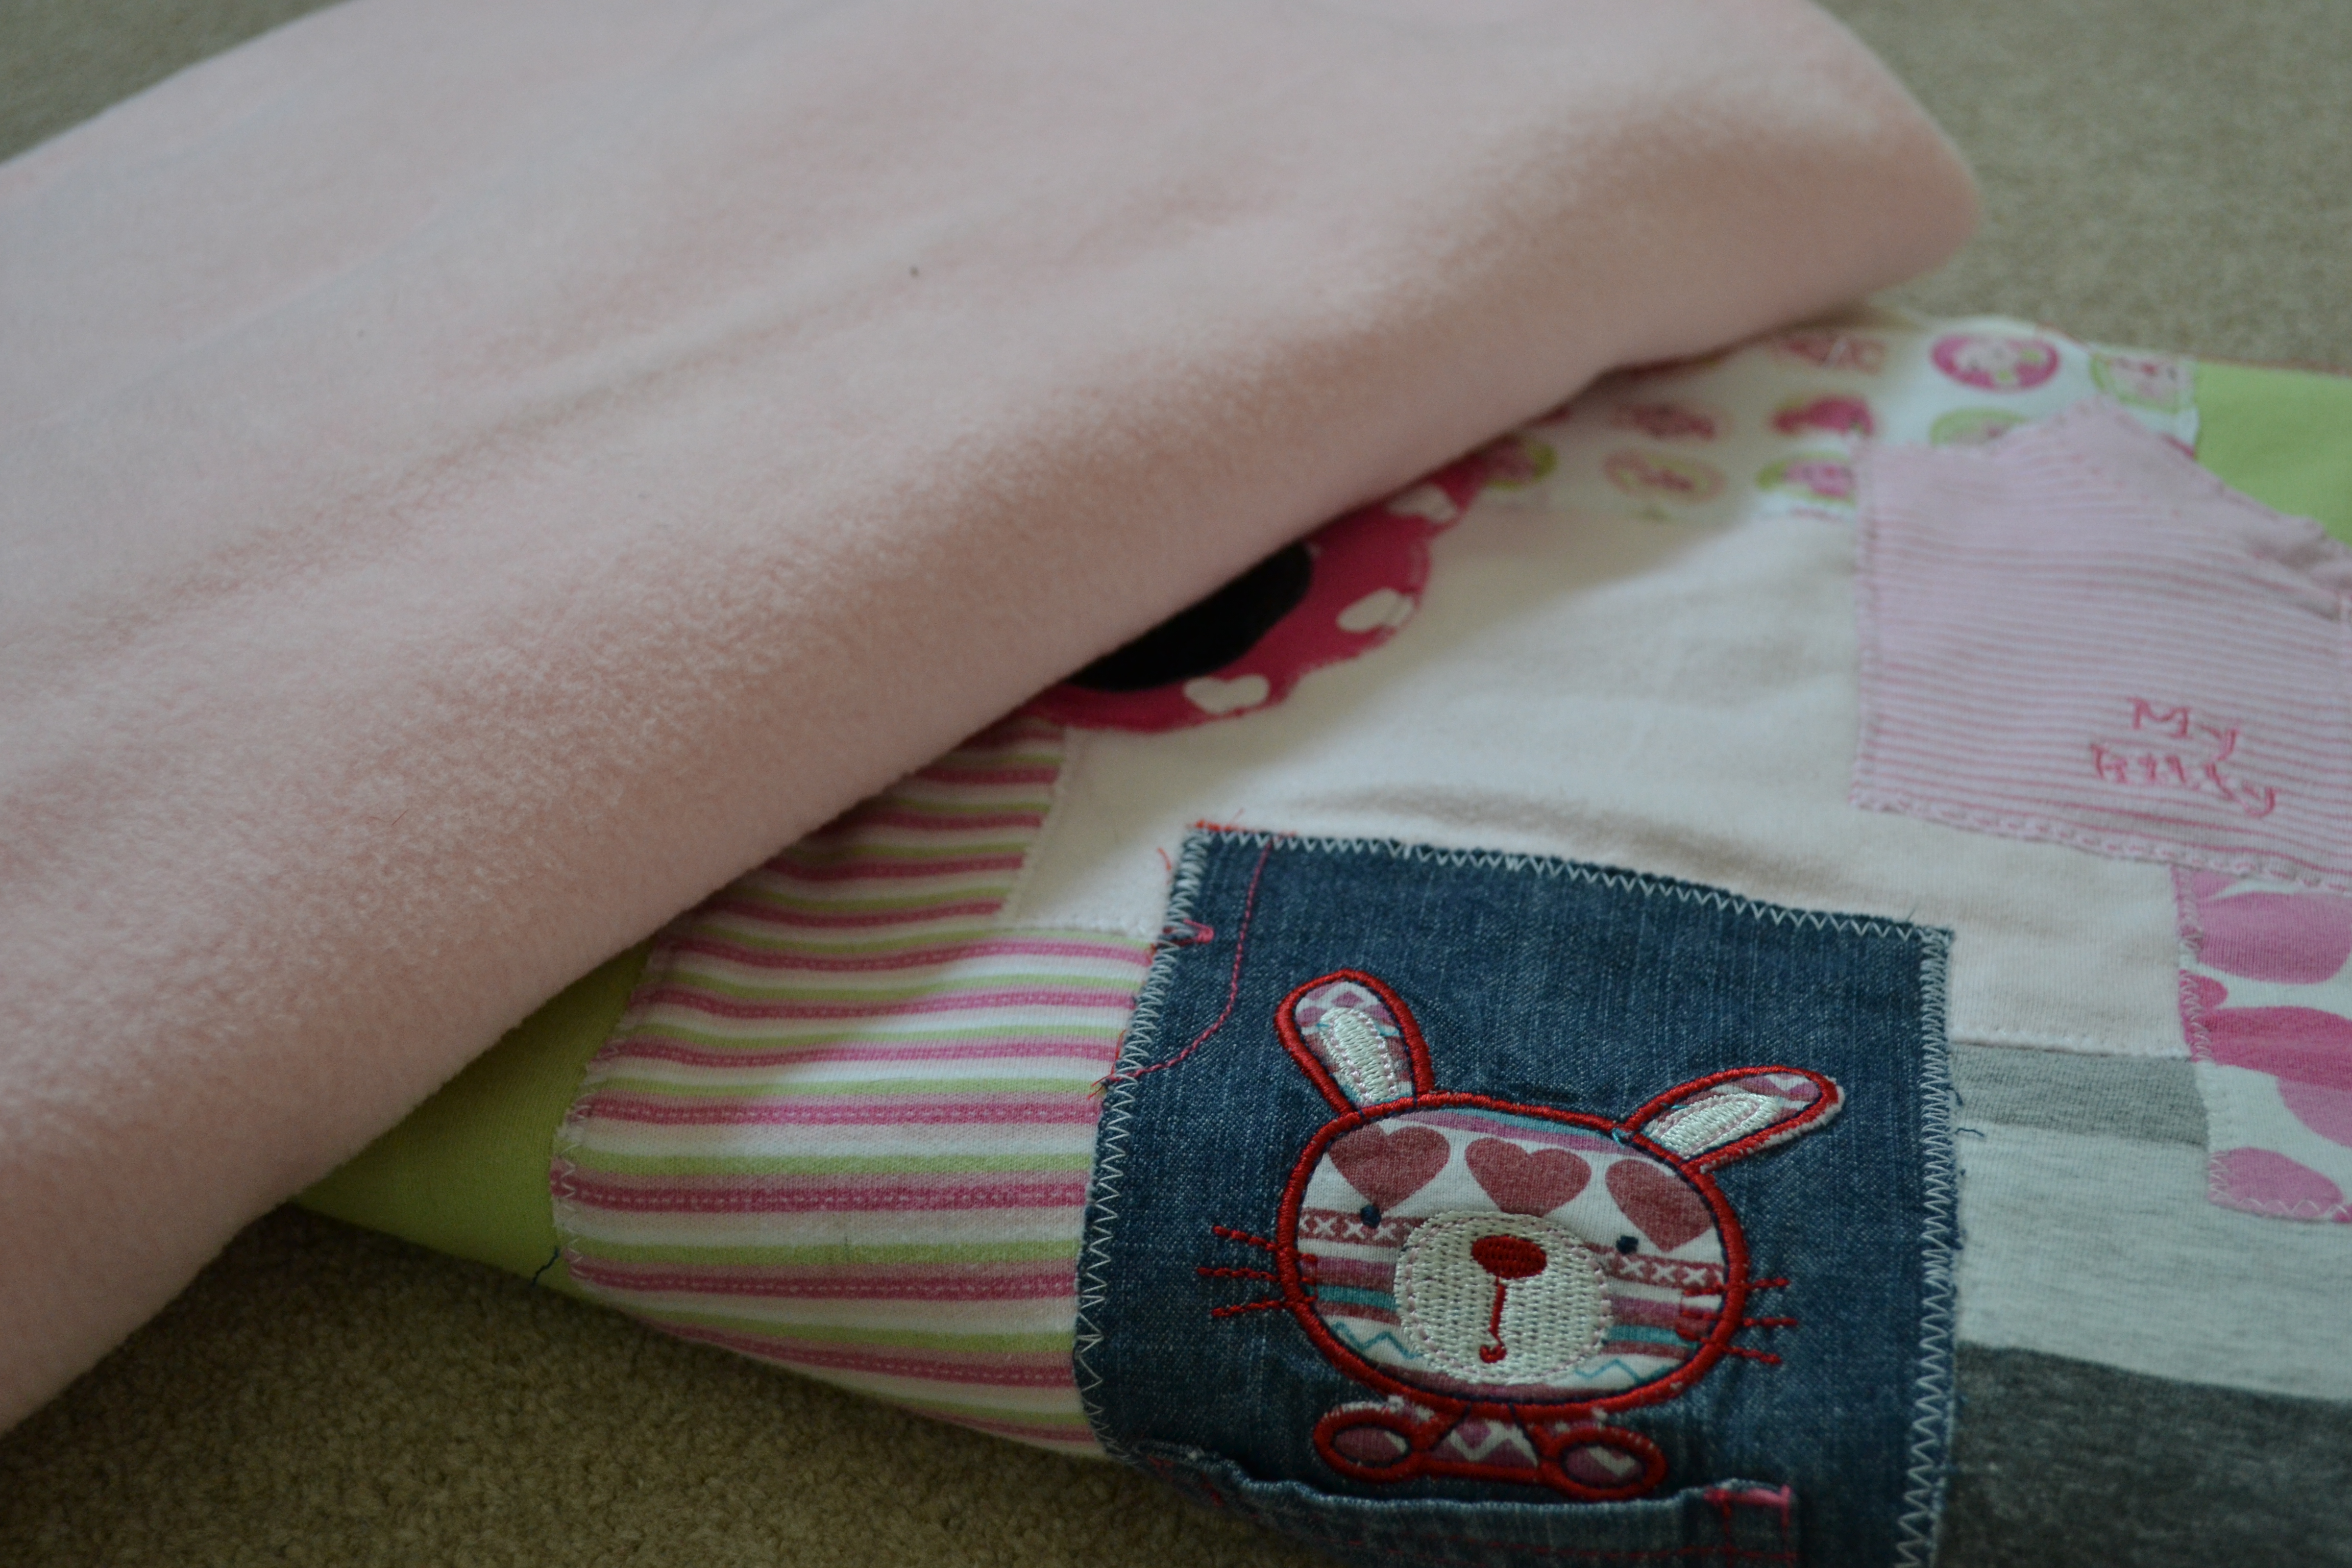
Once the name is added, we need to add a backing fabric. It took a while to decide what this should be, and we considered a few options.
Should we use fleece….or would this be too heavy?
How about a flanalette cotton? Or would this be to thin?
Should we add padding?? Eeek! Decisions, decisions….
In the end we settled on a pretty pink fleece fabric:
Next job is to lay out the blanket & fleece and pin together…..
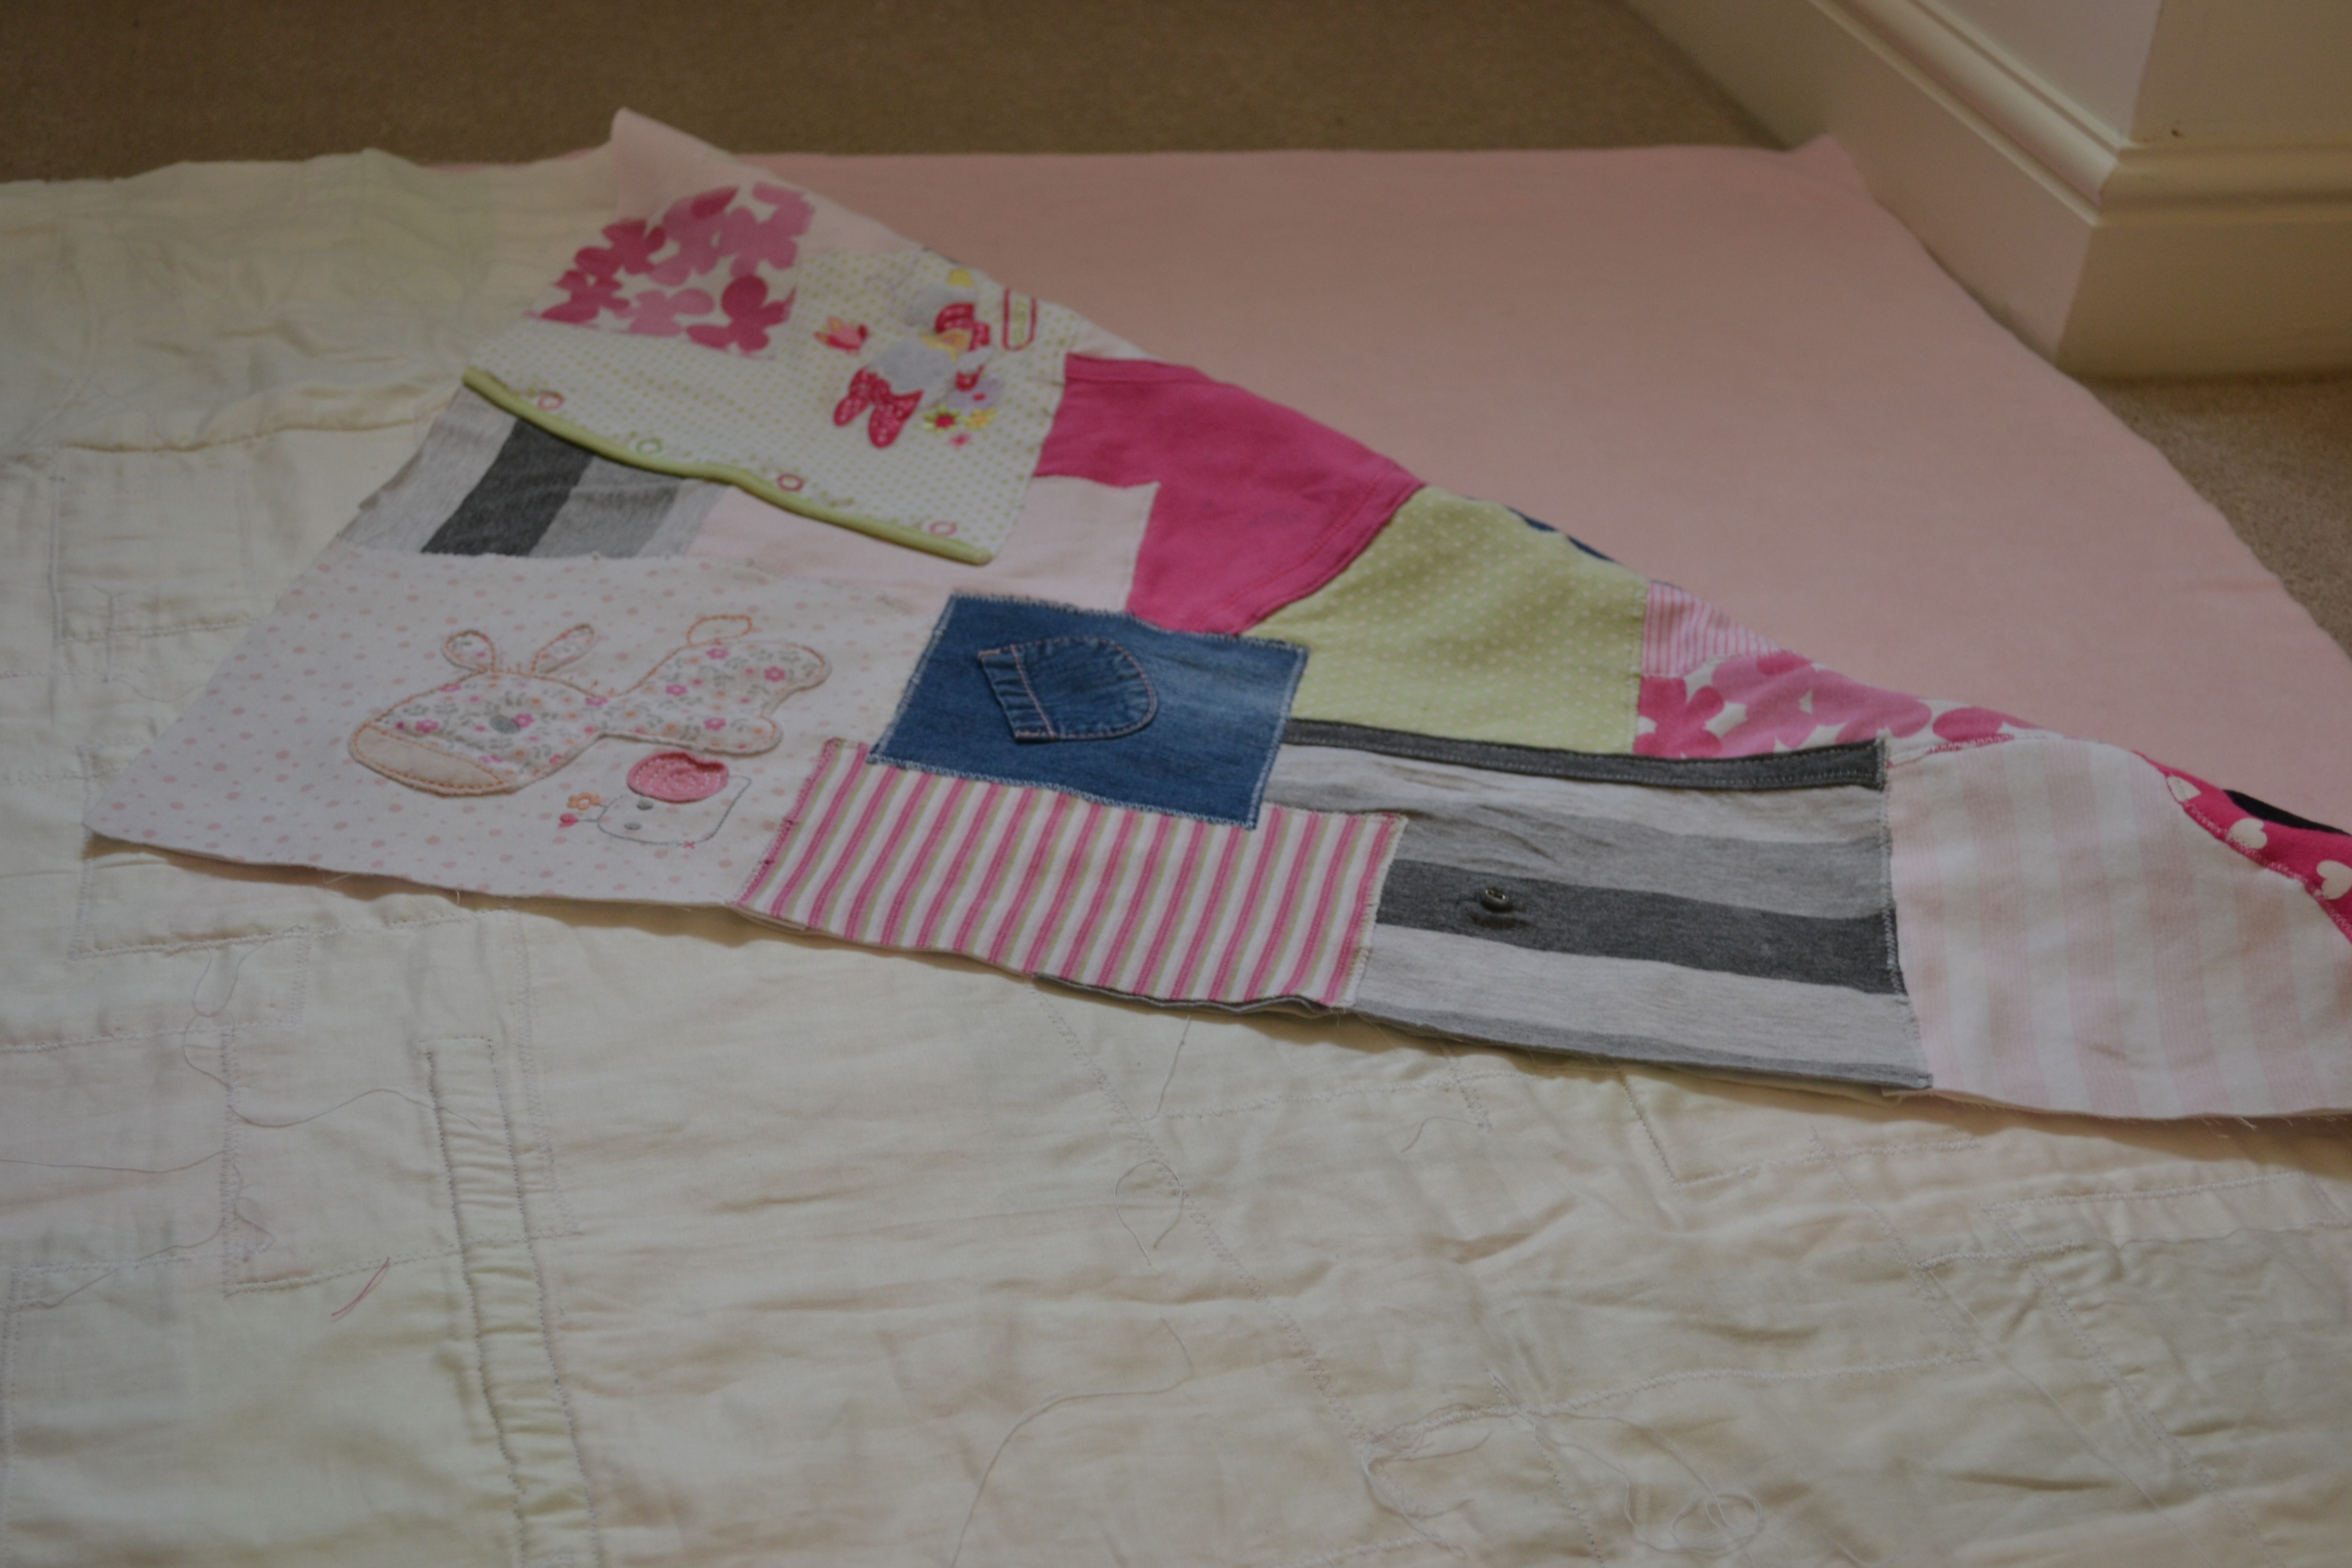
Finally, we stitch the whole lot together, leaving a hole at the bottom to turn through the right way (at the moment its inside out after being stitched together!)
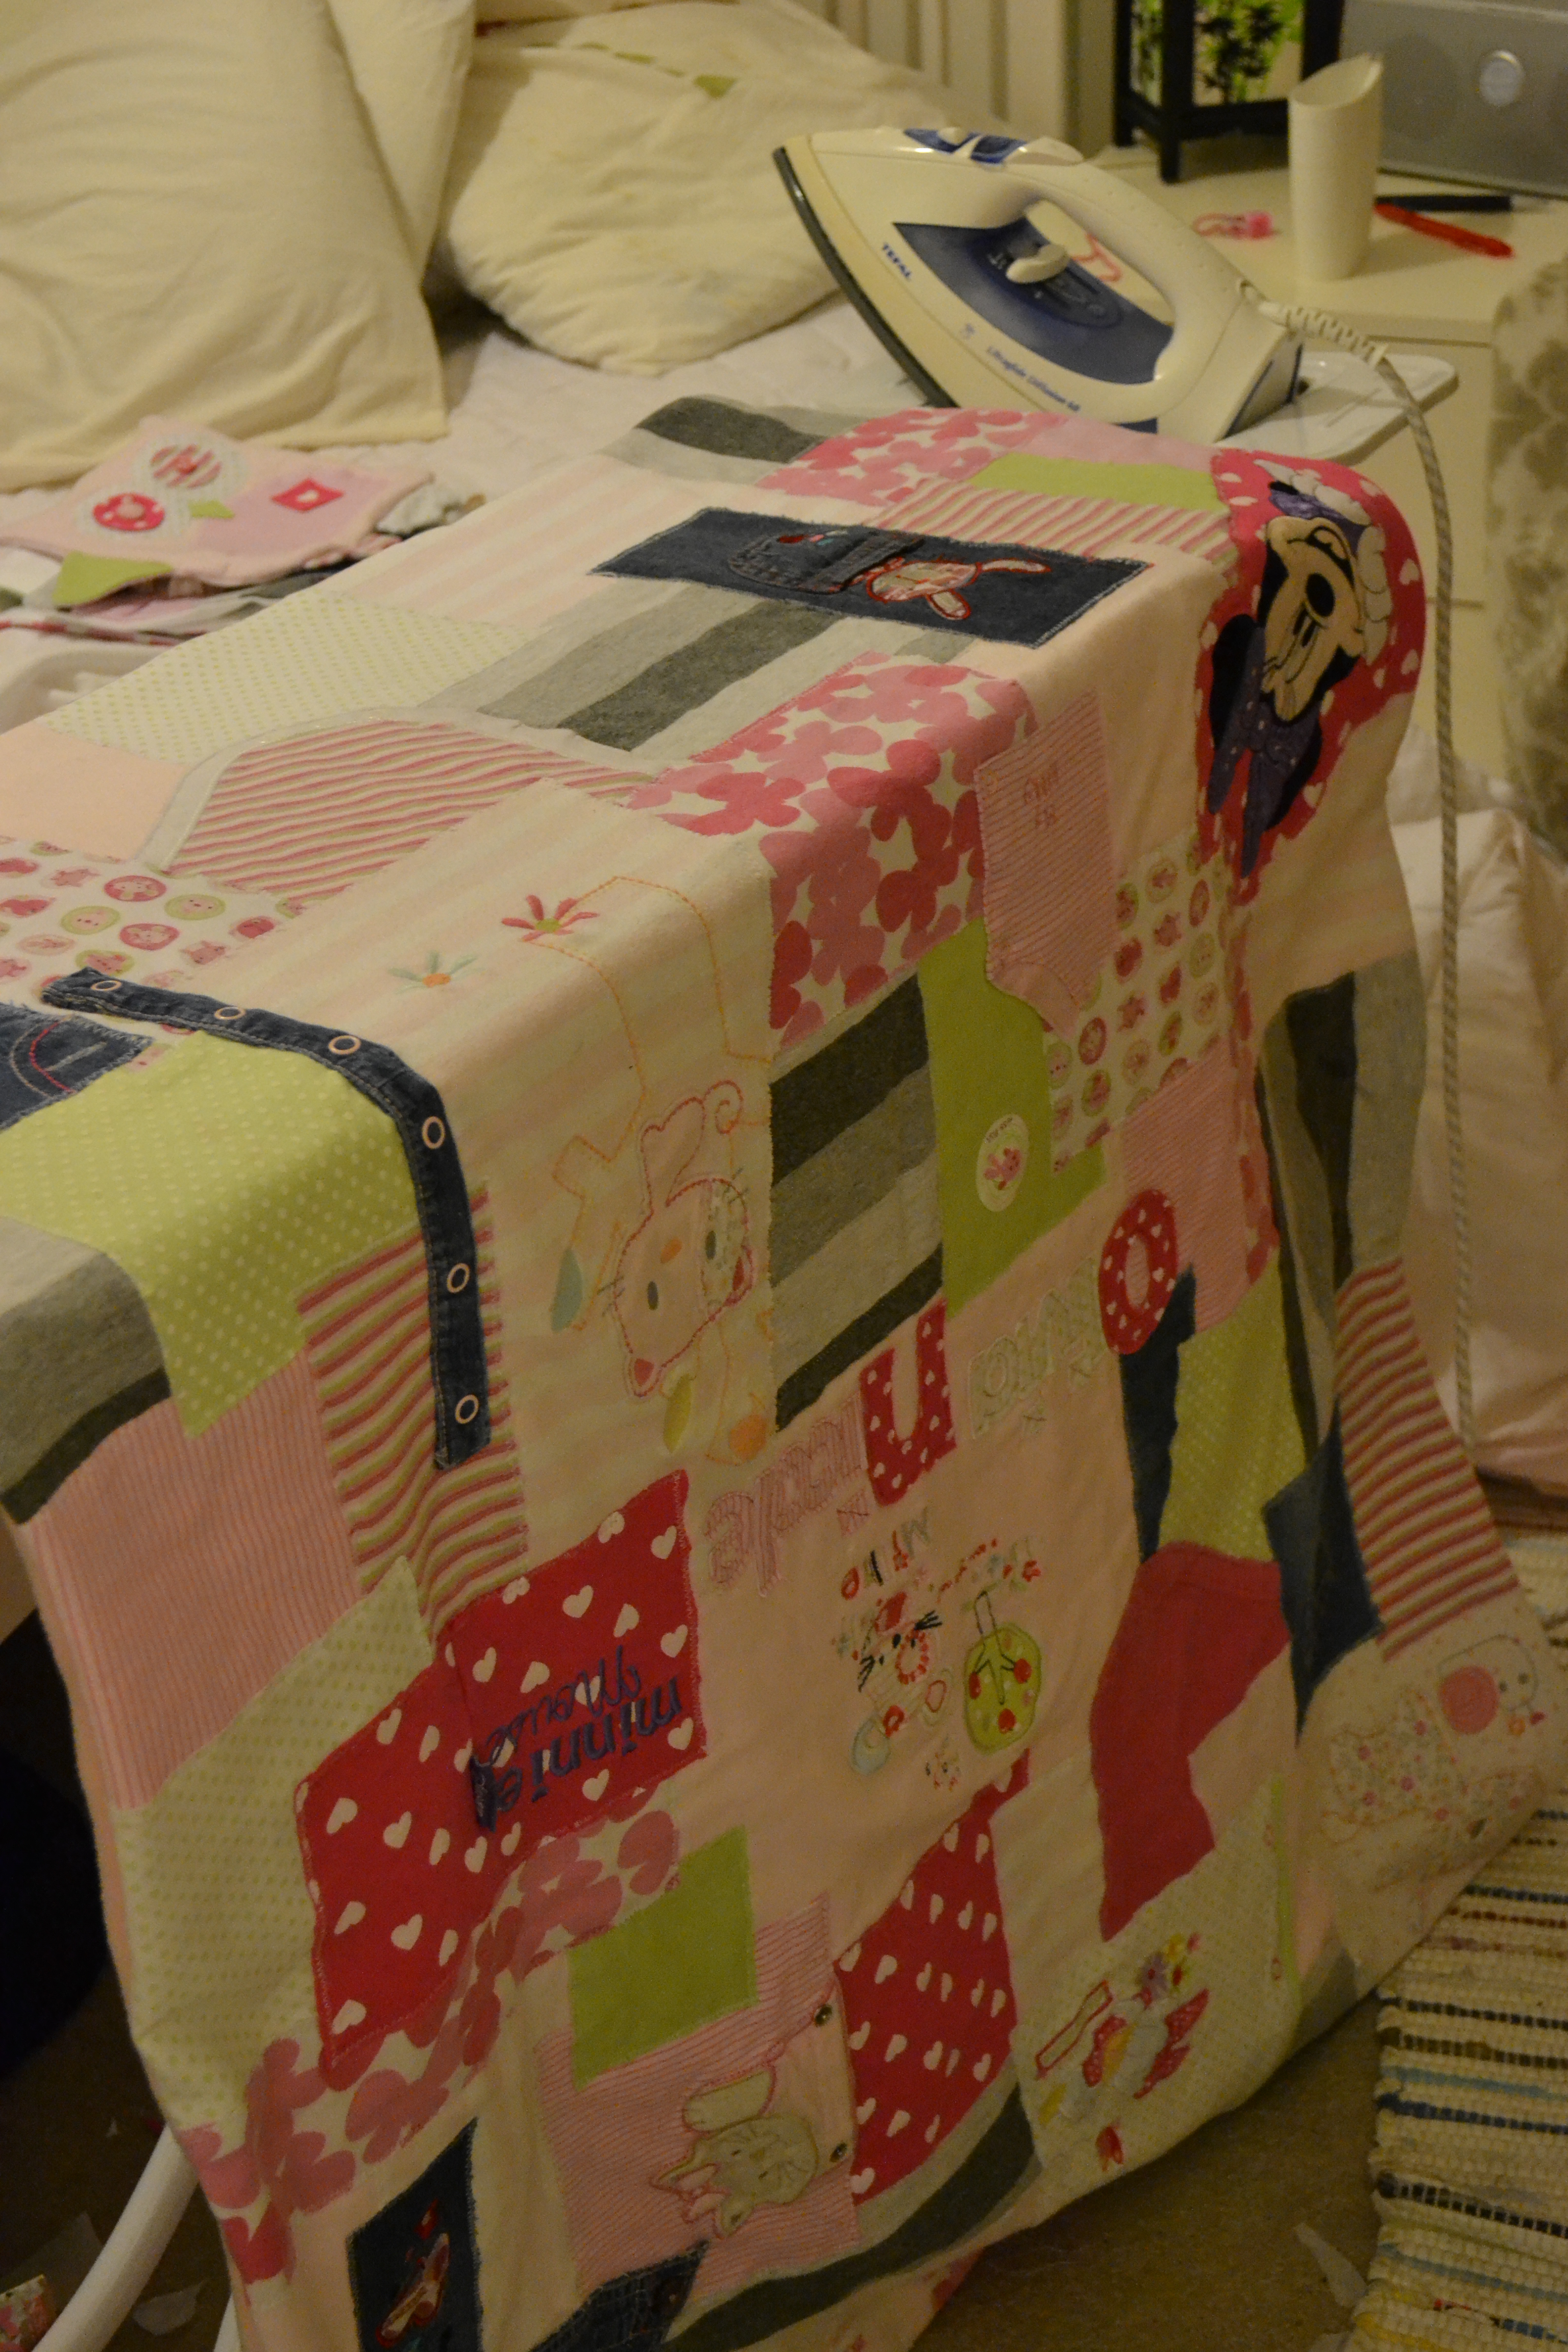
Once being turned round the right way, we give the whole lot a good iron….
Finally, we handstitch the final hole at the bottom, trim any threads and add Olivia’s birthdate. We do this with a 3d fabric paint, as we like the handwritten effect we can get when we use this directly from the tube.
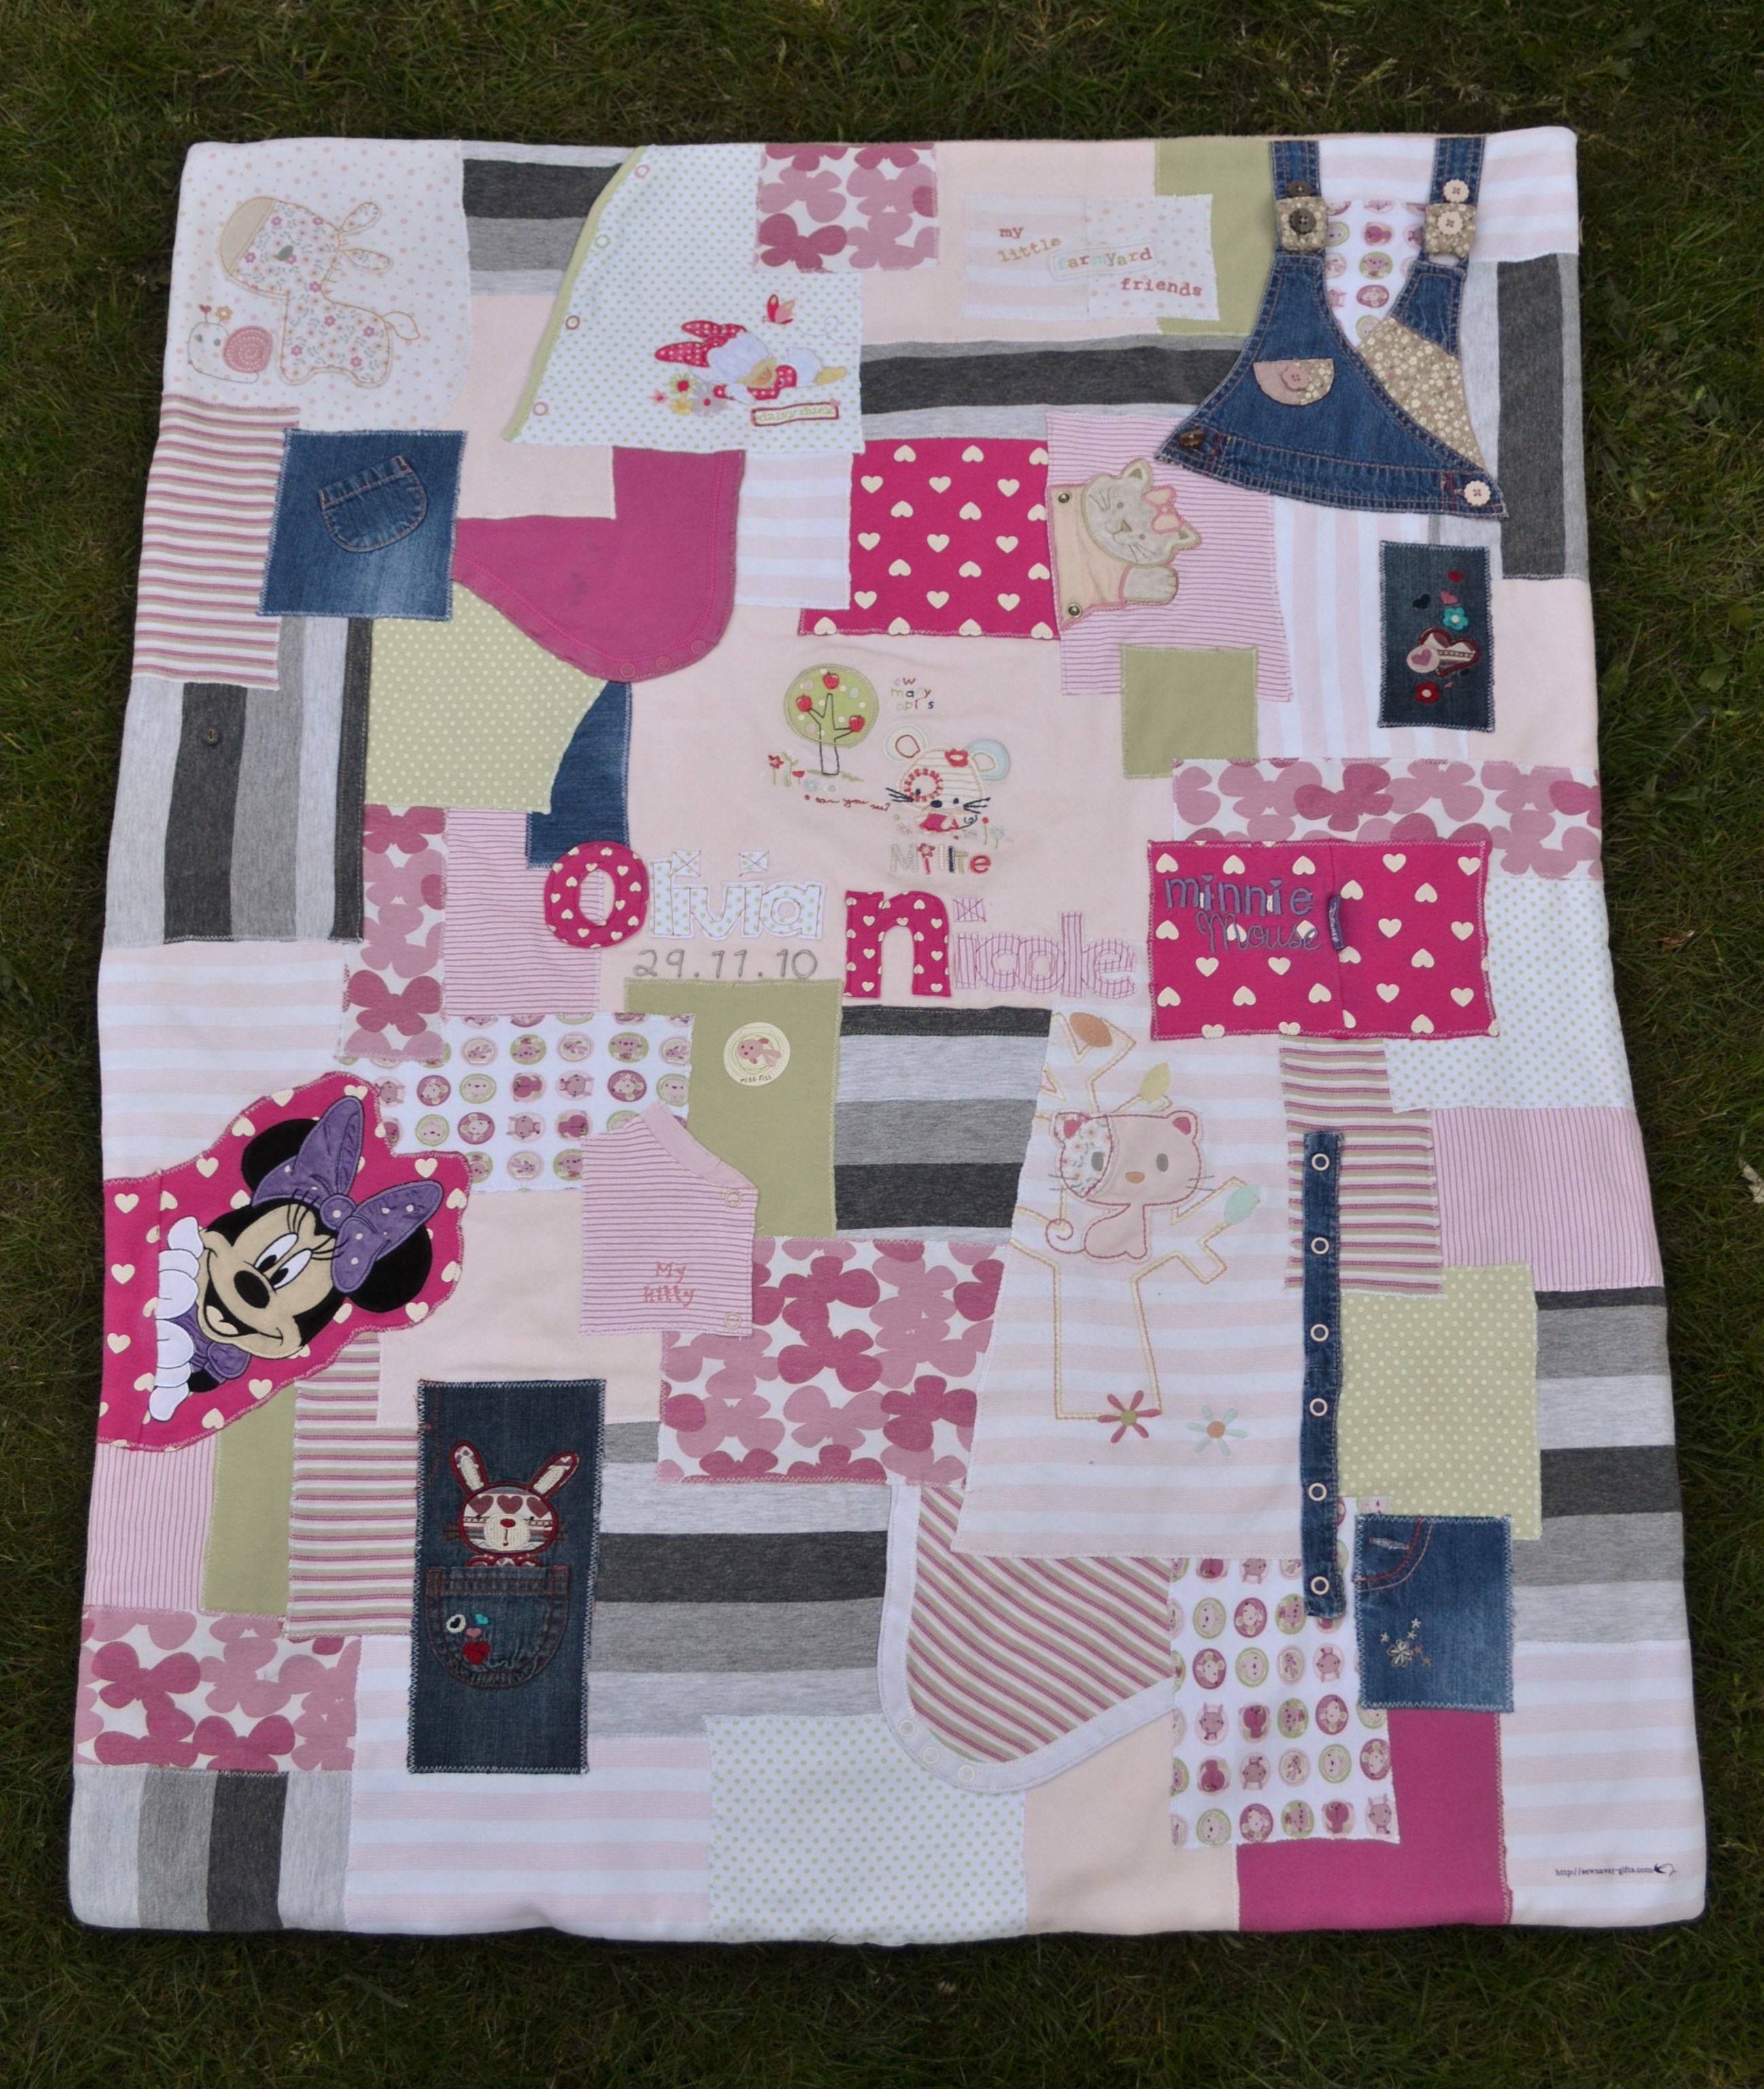
Once the paint has dried, she’s finally finished and we are really pleased with the result!
The final stage is to take photos for the website, and that is proving to be a challenge in itself! The blanket is so much bigger than our other products it’s going to be hard to make sure we capture all the detail in a fun & interesting way!! While we think about that, here’s a photo of the finished product to keep you going until our final post, which will be a closer look at the finished product….. See you all soon 🙂

I will certainly be back.